

Crafting with the Kid | How to Make the Easiest [Bubbliest] Chocolate Activity
DISCLOSURE: AD / This post contains gifted product from Viking Direct. All wording, images & opinion are my own, except where expressed.
Crafting with the kids is one of the things we think we should excel at as parents. As if a rite of passage into parenthood, there comes a time (quite early on) when you need to get down and dirty with the glue sticks, and whether you love it or hate it, needs must: kids need crafts to get their heads into.
I am one of those people who, oddly or not, quite likes crafting – on my own, that is! Give me a needle and thread or some card stock and embellishments and I can happily while away the hours in my own little perfectionist world. But crafting with little fingers, and knowing what kind of craft to do, isn’t something that comes easily to me. I have a tendency to overthink things and as a result over-complicate what should be a fun process. And what’s fun about that?
Thankfully, the lovely folk at Viking Direct came to the rescue.
I’ve known about Viking Direct for many years. Predominantly an office suppliers, anyone can buy from Viking, who sell cleaning equipment (including toilet rolls, in case you feel the need for a restock!) and craft supplies as well as office furniture and your essential desk stapler.
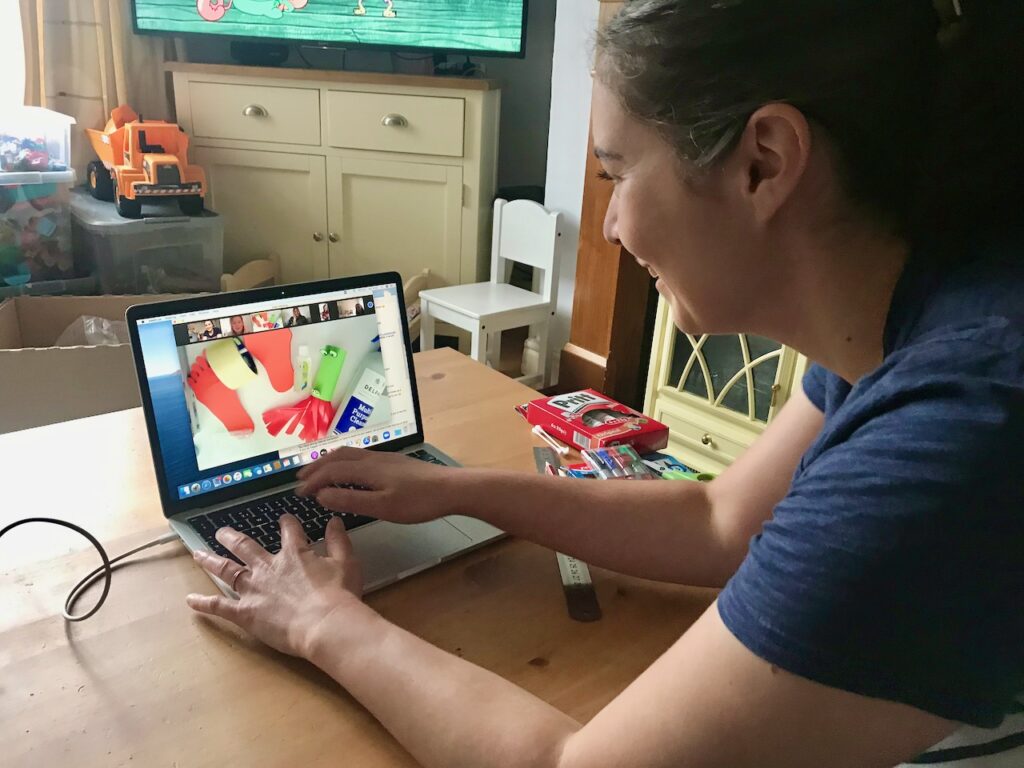
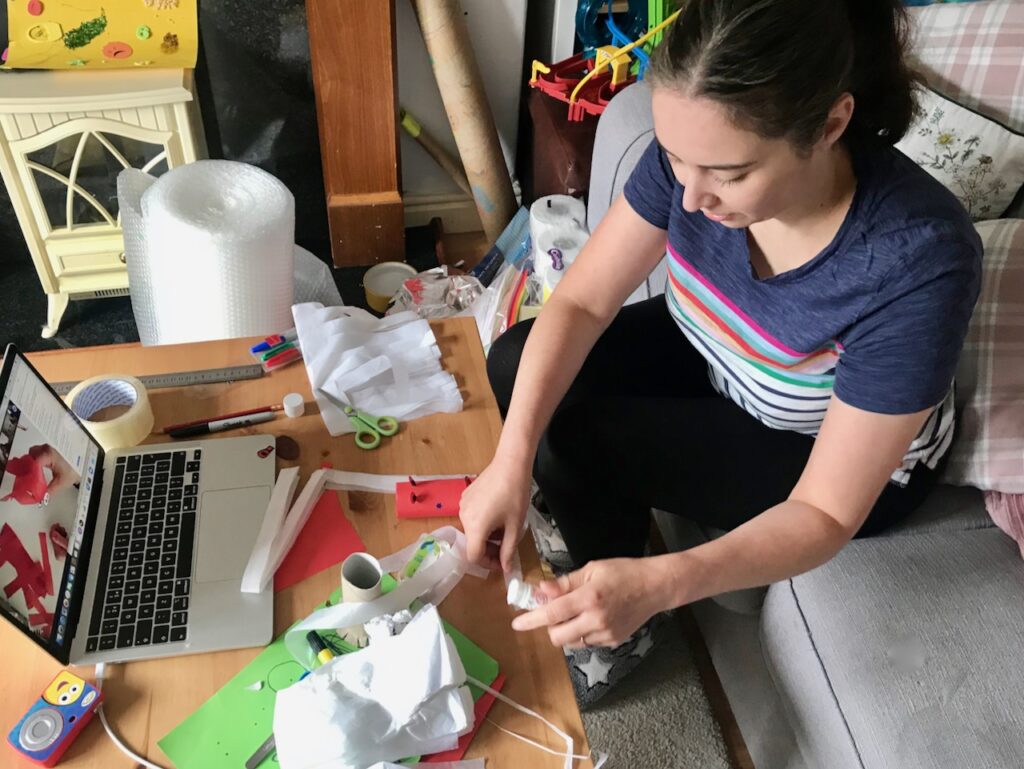
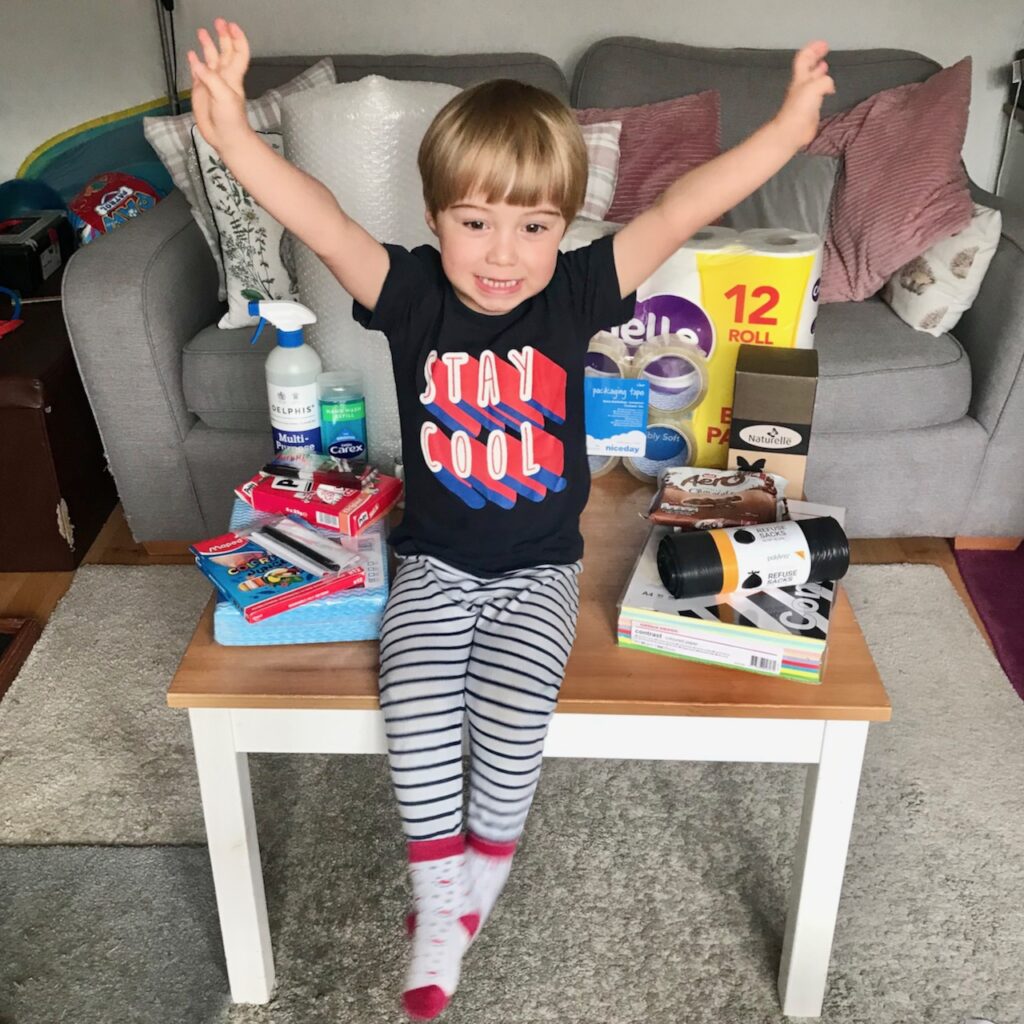
Viking invited us to a special online crafting event for bloggers, where we got to join in a ‘crafting with kids’ workshop hosted by Tea & Crafting. Viking posted us a big supply of everything we’d need to make the crafts – toilet rolls, bubble wrap, pens, coloured paper – as well as sanitiser and cloths to help clean and tidy up our work station (aka: living room table).
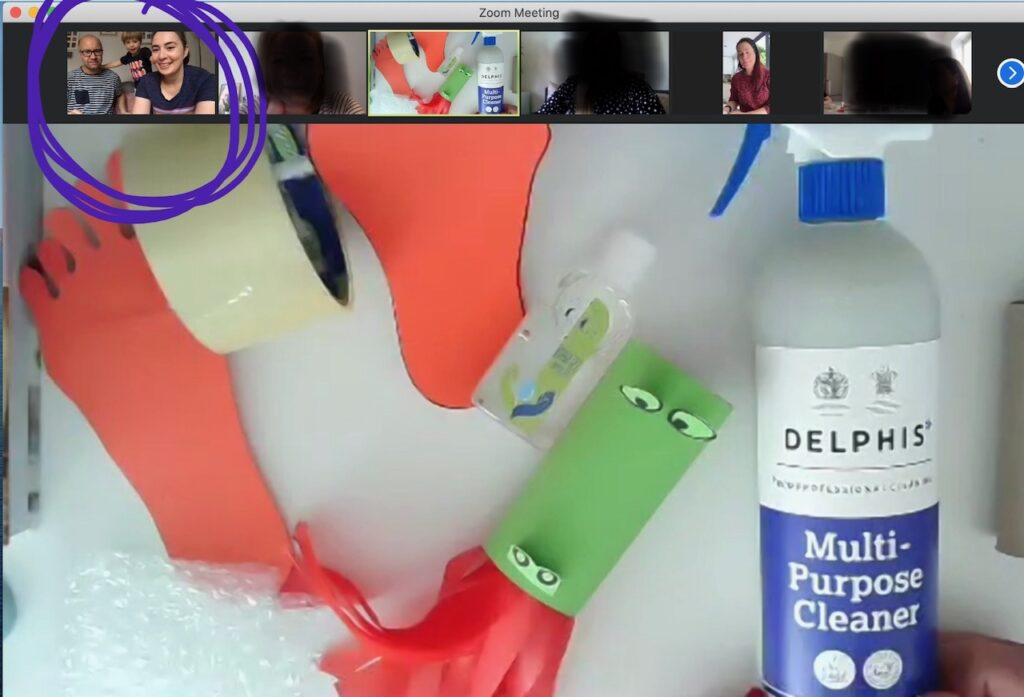
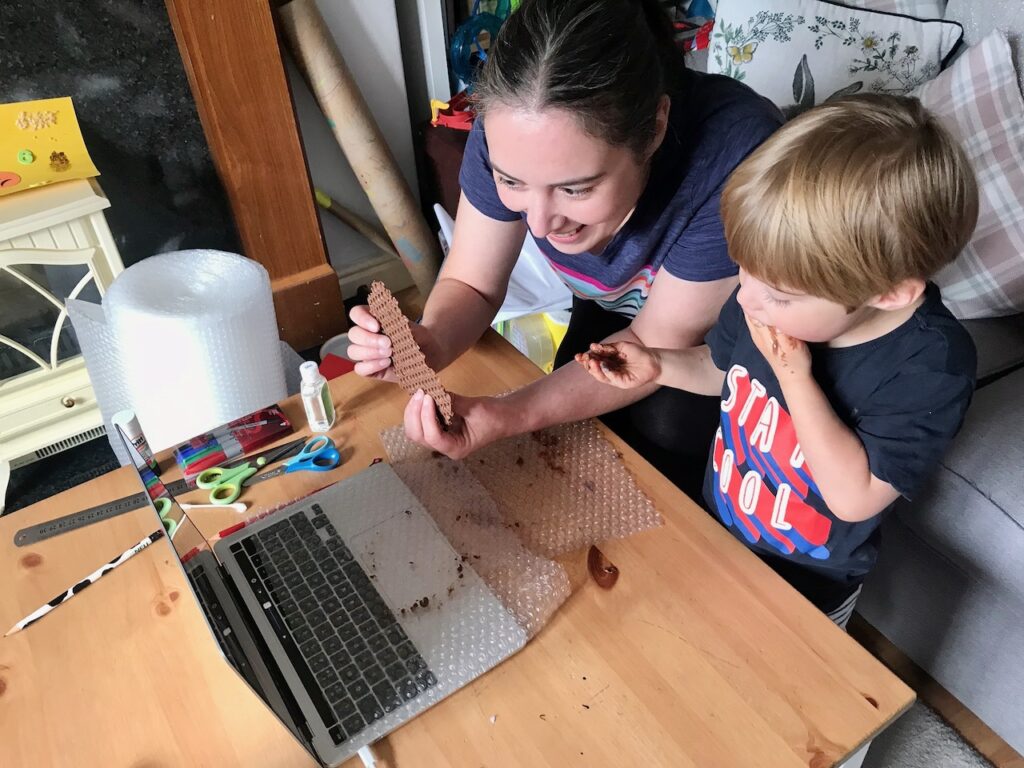
Amongst the tutorials which included walking parcel tape feet and fire breathing dragons (which I was absolutely terrible at), the simple but totally effective ‘Chocolate Bubble Wrap’ was our favourite craft of the morning session. Not only was it easy enough to engage our Youtube obsessed three year old, I found the ‘grand reveal’ even more satisfying than the chocolate itself (oh, you’ll see what I mean).
Fancy making a clever craft today? Courtesy of Viking and Tea & Crafting, here’s the full tutorial for the ‘Chocolate Bubble Wrap’. Even if you’re all fingers and thumbs where craft or cooking is concerned, no-one could fail this one. Enjoy!
Chocolate Bubble Wrap
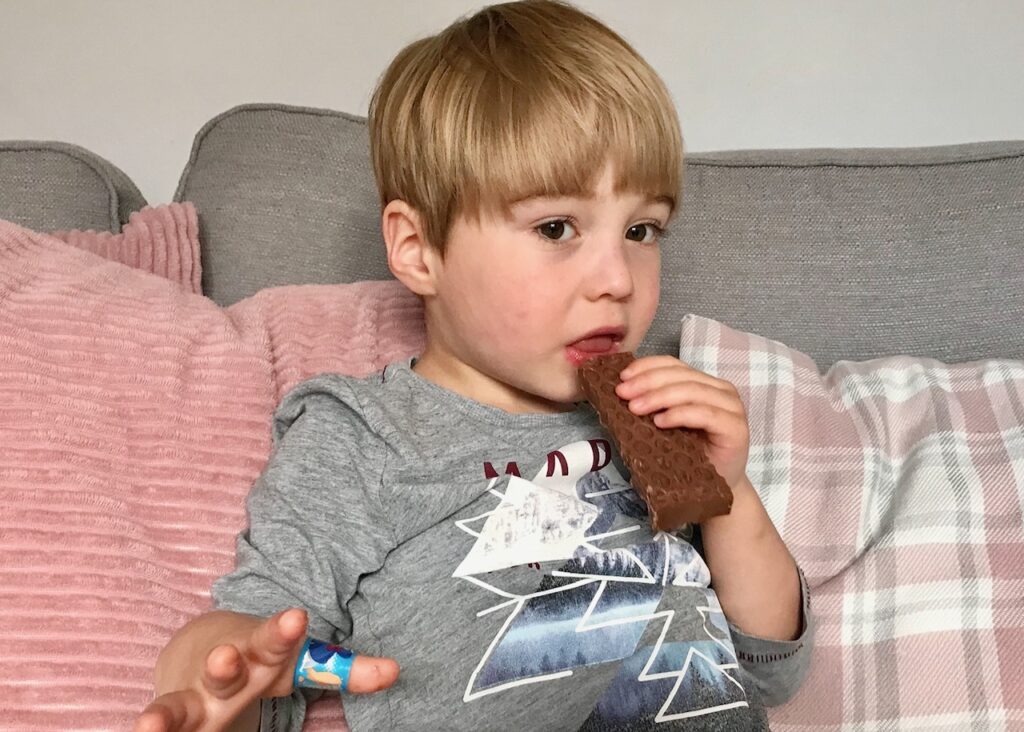
1. We loved using Aero chocolate for this activity as it was so easy for little hands to break this apart. It just crumbled with little pressure, making it the perfect chocolate to use.
2. As we’ll be touching food products everyone should wash their hands or use some hand sanitiser.
3. Clean your working area thoroughly.
5. Crumble about 3-4 small chocolate bars into a bowl using your fingers to squash the Aero and watch it crumble beautifully into the bowl.
6. Wash your hands to clean away all the chocolate bits left on your hand.
7. Melt in the microwave at 30 second increments. Ensure you stir after each 30 second blast, so you can evenly distribute the heat and help it melt quicker.
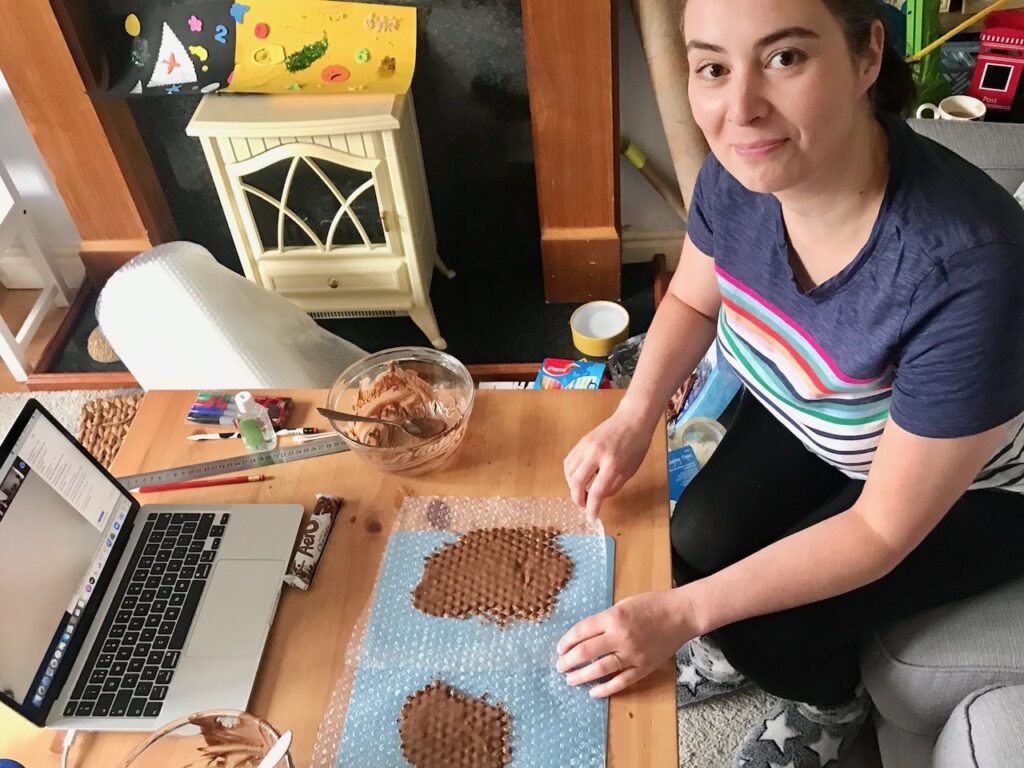
8. Pour the melted chocolate onto the bubble wrap and then spread it over evenly with a spatula or knife, making sure it’s not too thinly spread.
9. Pop it into the fridge for about 30 minutes to set.
10. Whilst the chocolate is setting, clean your working area again, wiping away any spilled chocolate etc.
11. After it’s set, peel back the bubble wrap from the chocolate and be amazed at your homemade chocolate bubble wrap.
So that was the method we followed during the workshop, however we’ve since made the chocolate bubble wrap a second time and made a slight addition to the process.
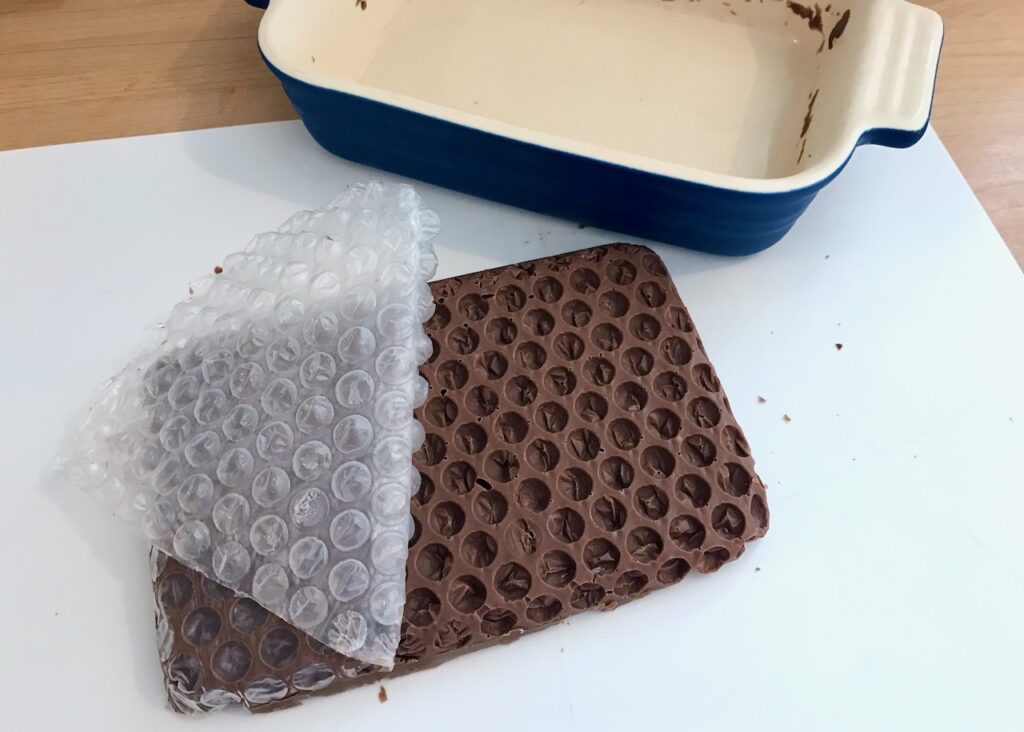
To create a solid bar take on the bubble wrap sheet, I used a small ceramic baking dish and lined it with a piece of bubble wrap. Once I’d poured our melted down chocolate into the dish, I layered another piece of bubble wrap over the top, ever so lightly pressing down onto the chocolate beneath.
After leaving in the fridge to set for a few hours, it was time to remove the bar and the wrap. The result is a chunkier bar and the double bubble wrap layering gives an all round bubbly appearance. Looks pretty cool, doesn’t it?!
What are your favourite easy activities to do with the kids? I’d love to hear your ideas!
Leave a Reply